|
Article ID: 163
Last updated: 17 Sep, 2022
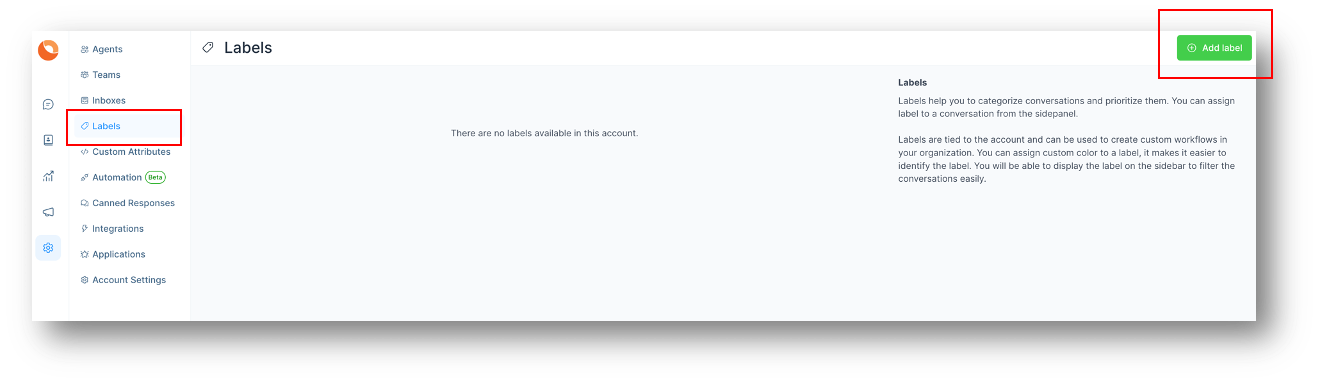
Add LabelLabels help you to categorise conversations and prioritise them. You can assign label to a conversation from the side panel. Labels are tied to the account and can be used to create custom workflows in your organization. You can assign custom colour to a label, it makes it easier to identify the label. You will be able to display the label on the sidebar to filter the conversations easily. Click on Settings on OMNI home screen. Click on Labels and then Add Label button on the Right hand side.
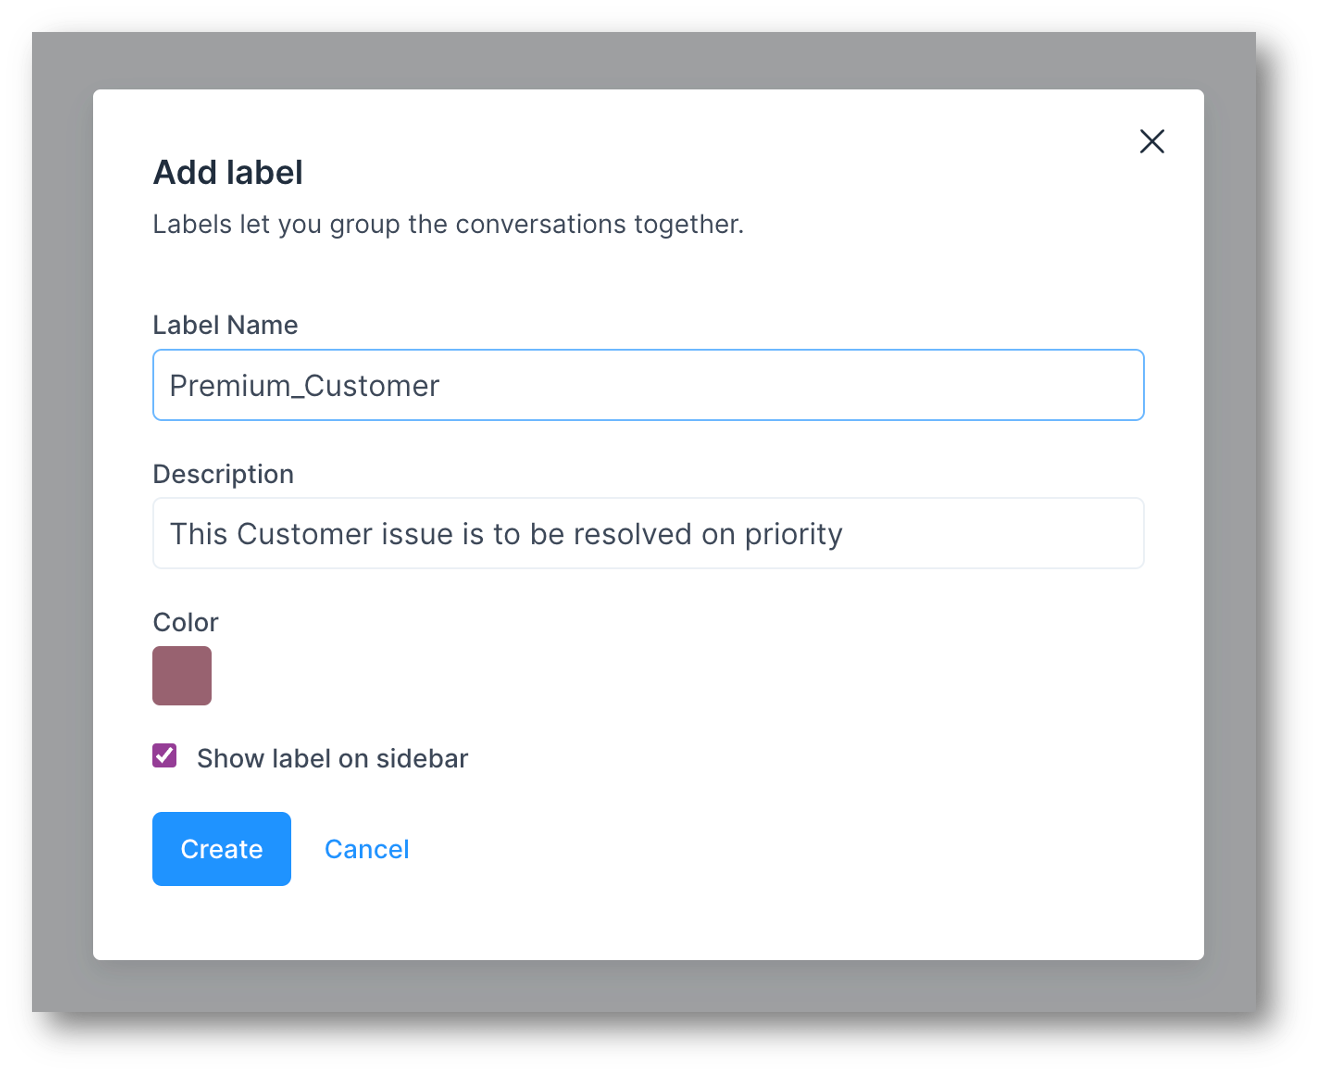
Screen opens up where you can design your own labels. Make sure you give meaningful names to the labels and different colours so that you can identify in one look, to which category the ticket/issue belongs.
Click on Create. Label added successfully message will be displayed. New Label has been created. You can create as many Labels as you need. Labels can be used across teams.
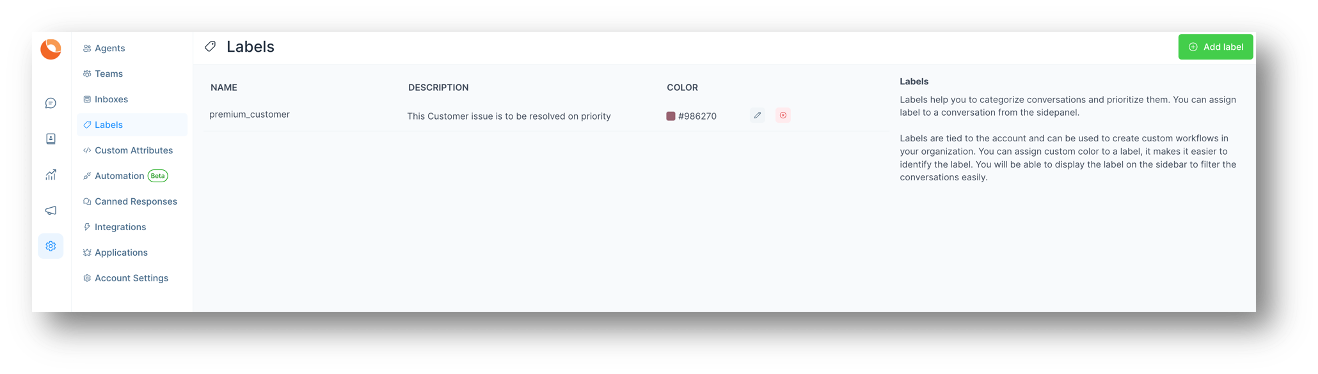
You can edit or delete the Label as per your need.
This article was:
Report an issue
Article ID: 163
Last updated: 17 Sep, 2022
Revision: 1
Views: 43
|

Powered by KBPublisher (Knowledge base software)