How to create Facebook channel
Prerequisites
- You need to have admin access to your Facebook Business Page that has a minimum of an alias/page name
- You need to allow OMNI's App to gain access to the pages messaging function
Setup Facebook Messenger
Step 1. Click on "Add Inbox" button from Settings > Inboxes page.
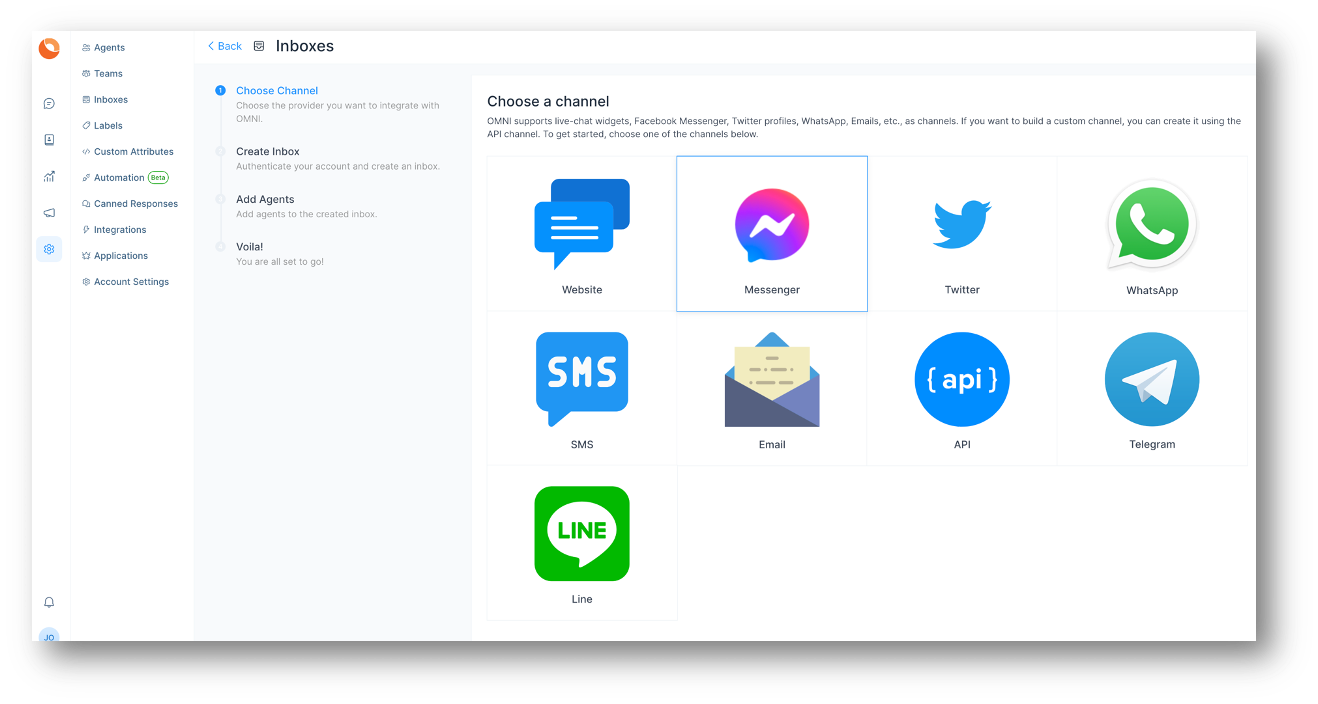
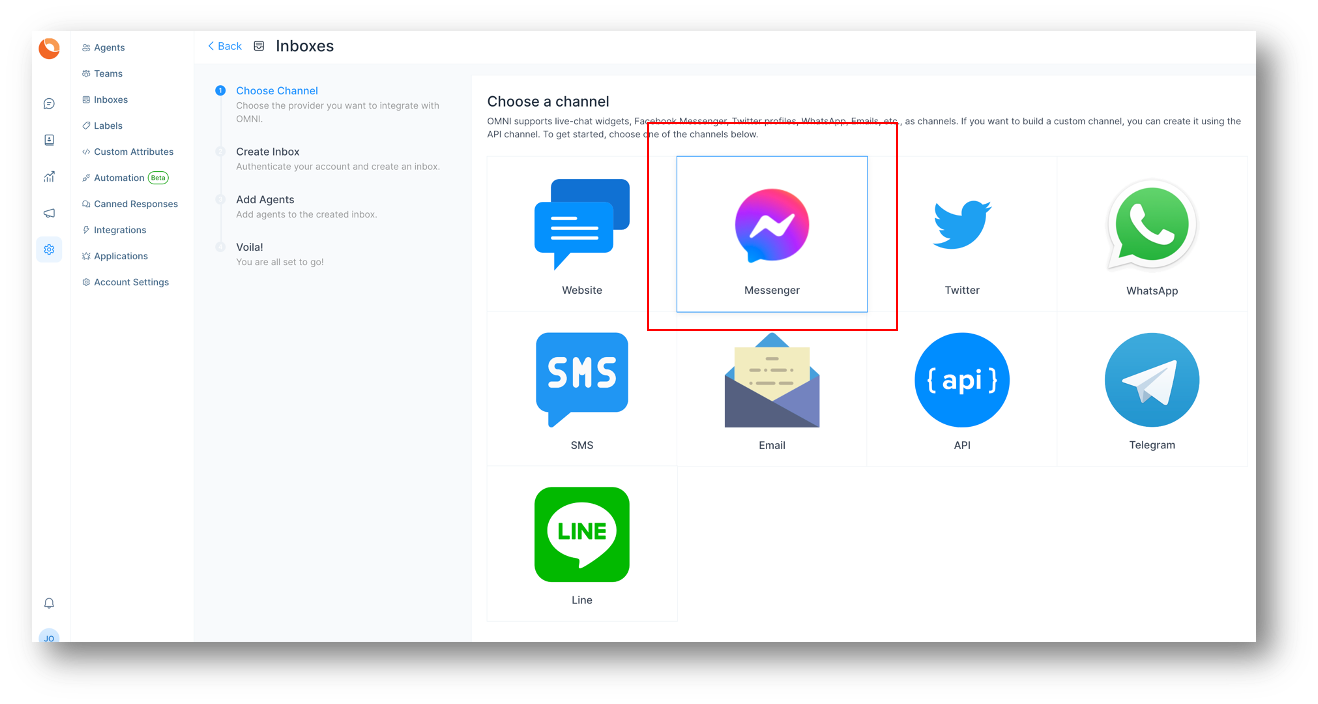
Step 2. Click on "Messenger" icon.
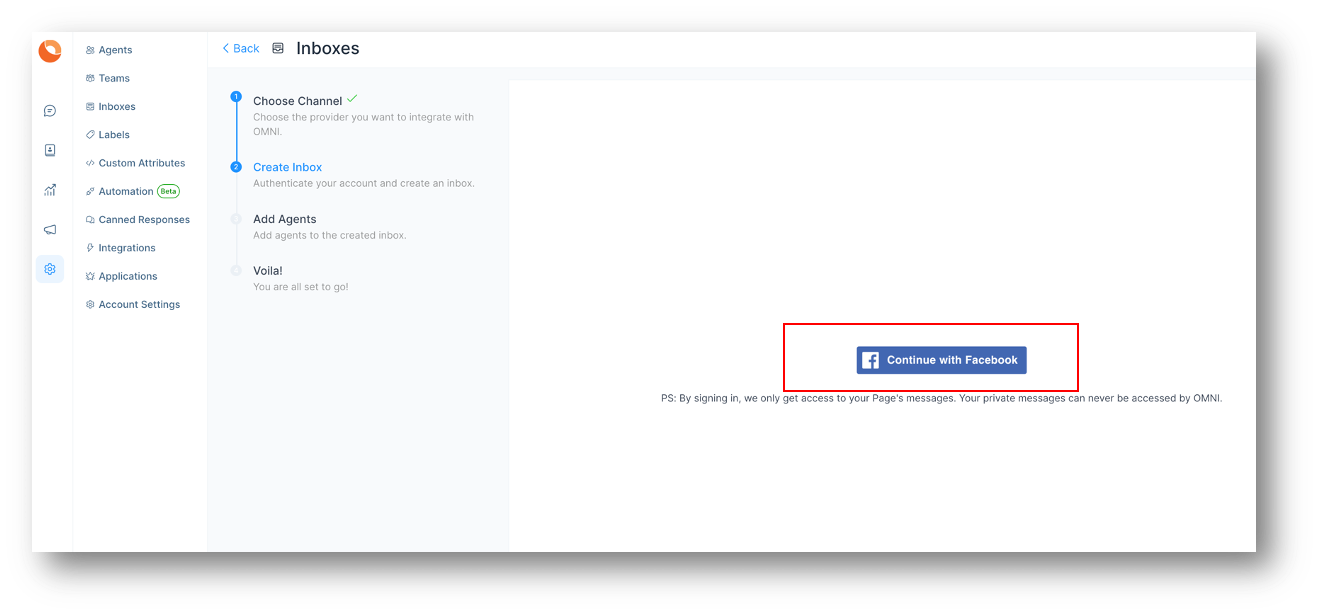
Step 3. Click on Facebook login button. It will open a new window for you to login.
Step 4. Authenticate with Facebook and select the page you want to connect. Enable all permissions shown in the list, otherwise the app might not work. At this point, when you click Continue <your username> it might ask you for an Instagram Account, you can skip this part if you've not linked your IG account to your Facebook Business Page, just click Next to select relevant Business Page(s).
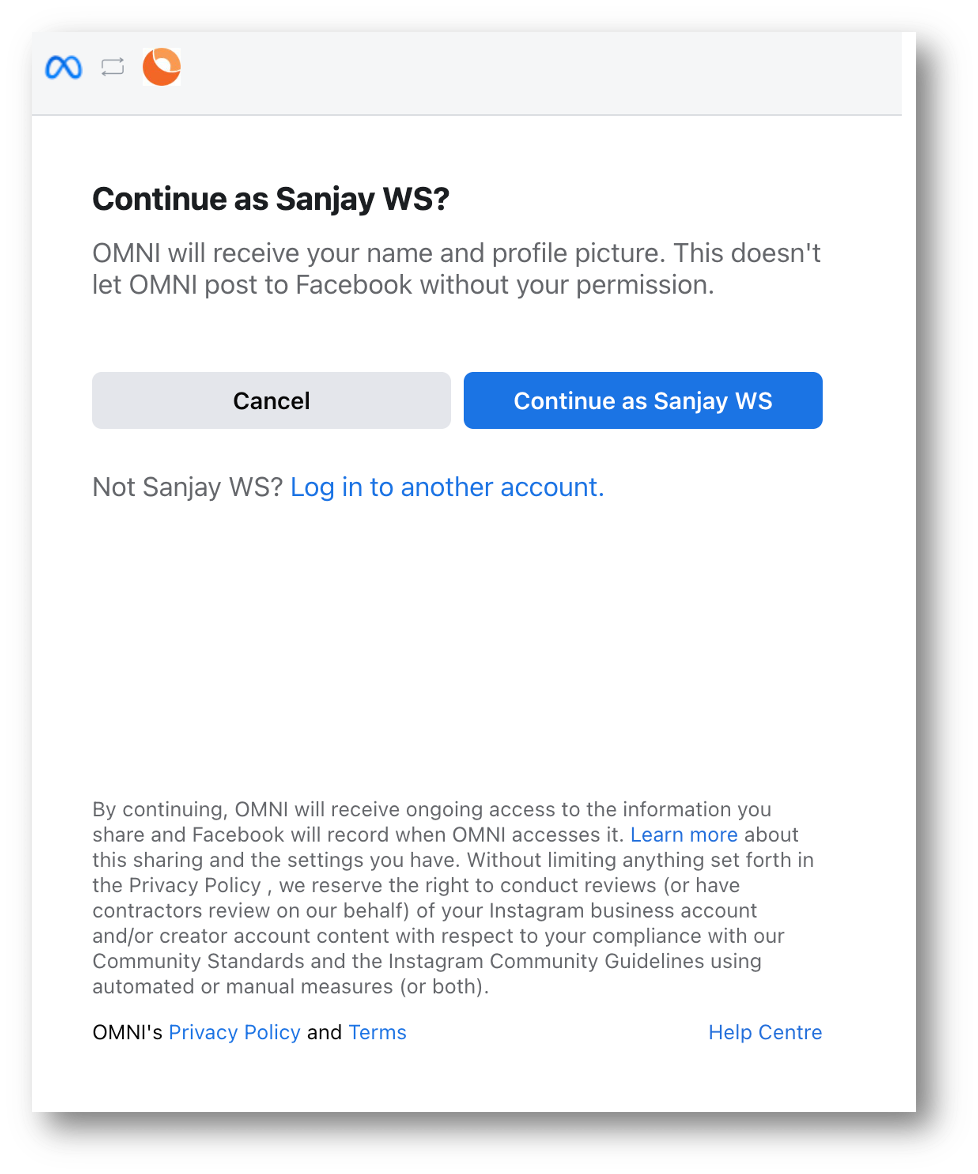
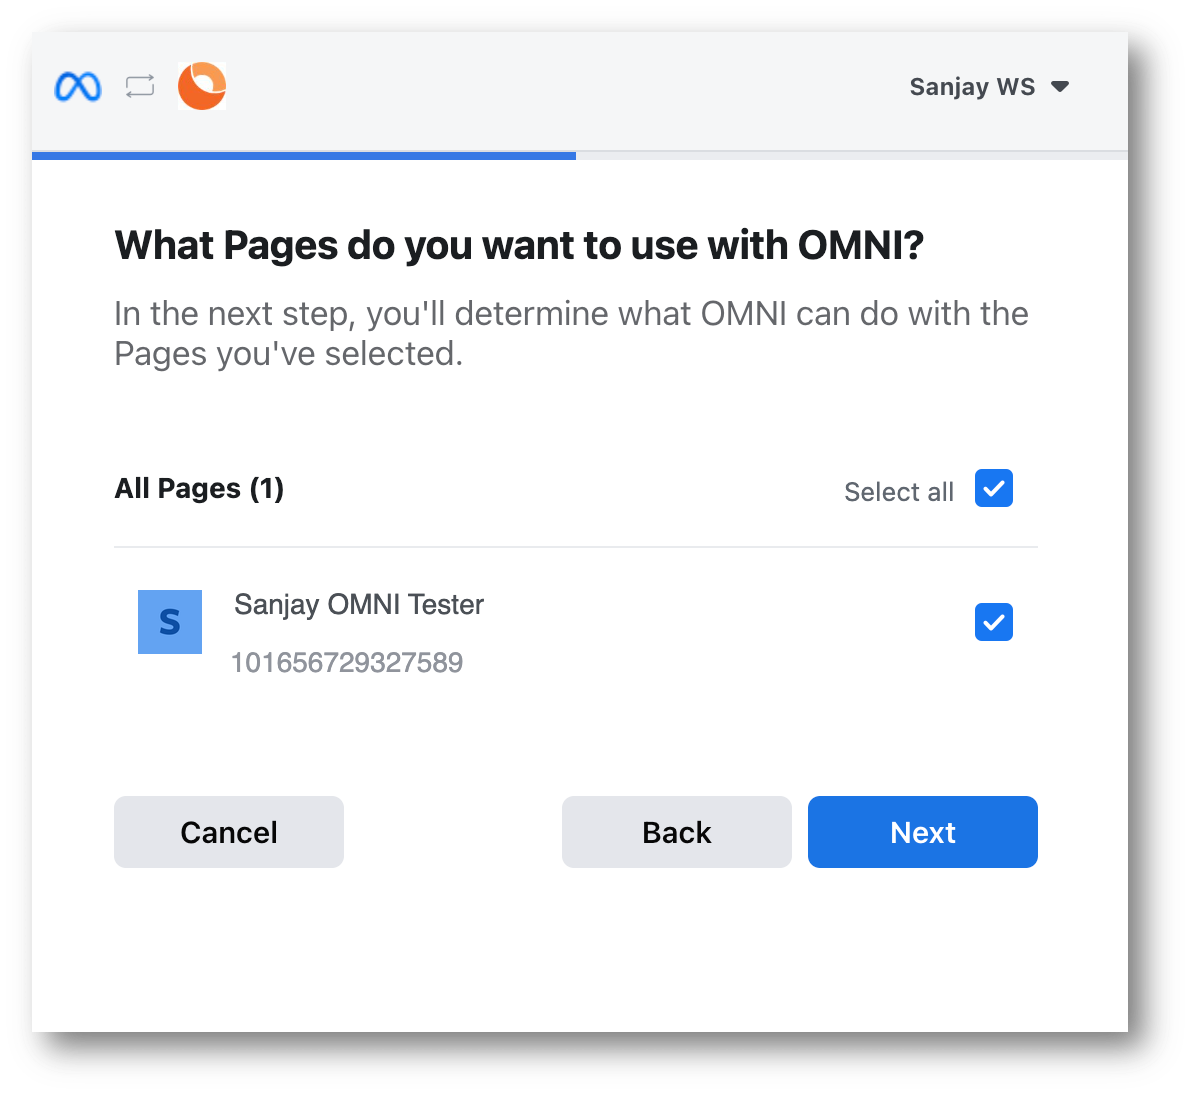
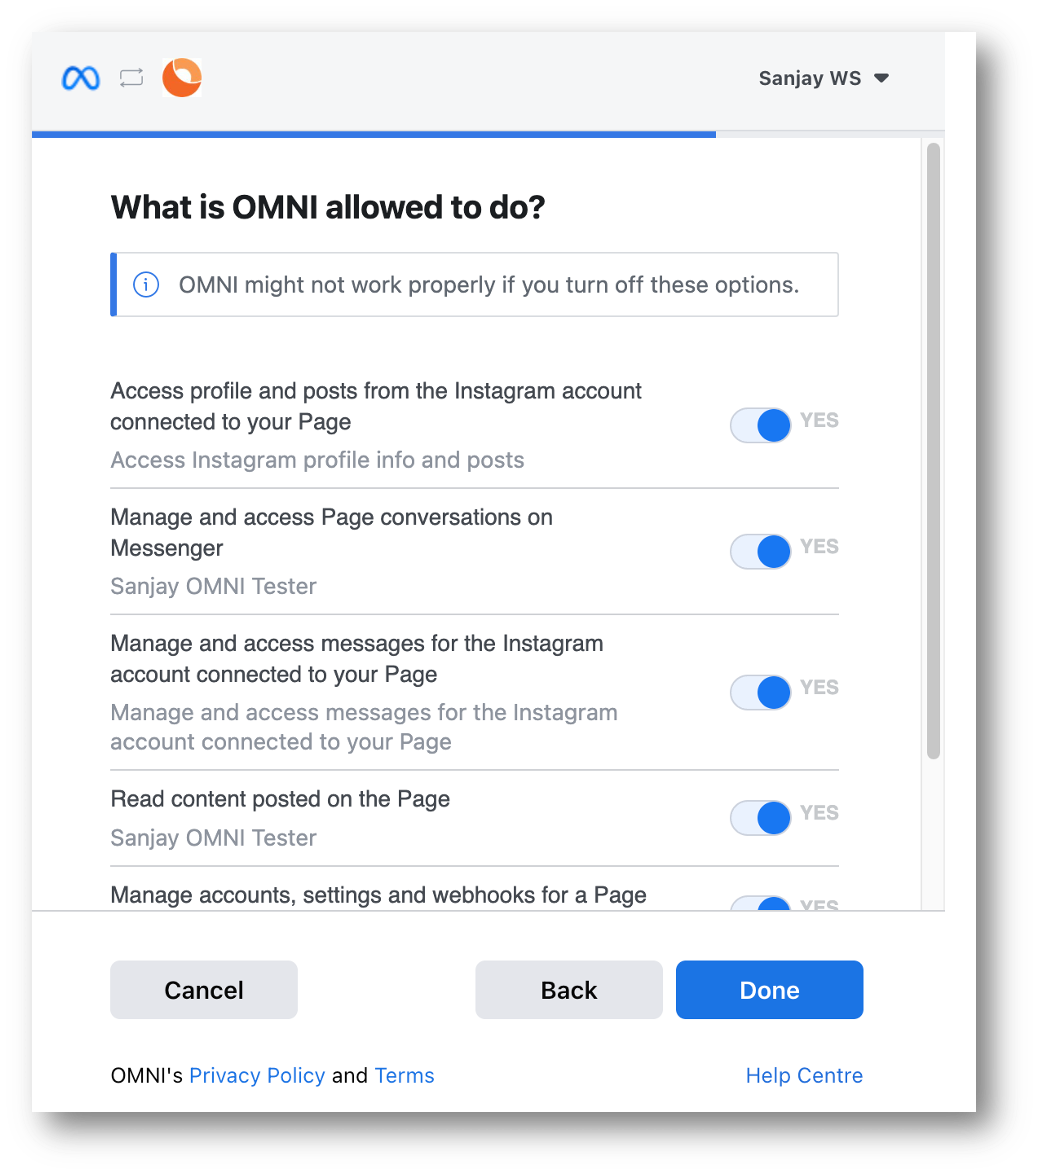
Be sure to allow all the above permissions otherwise the app integration will not work.

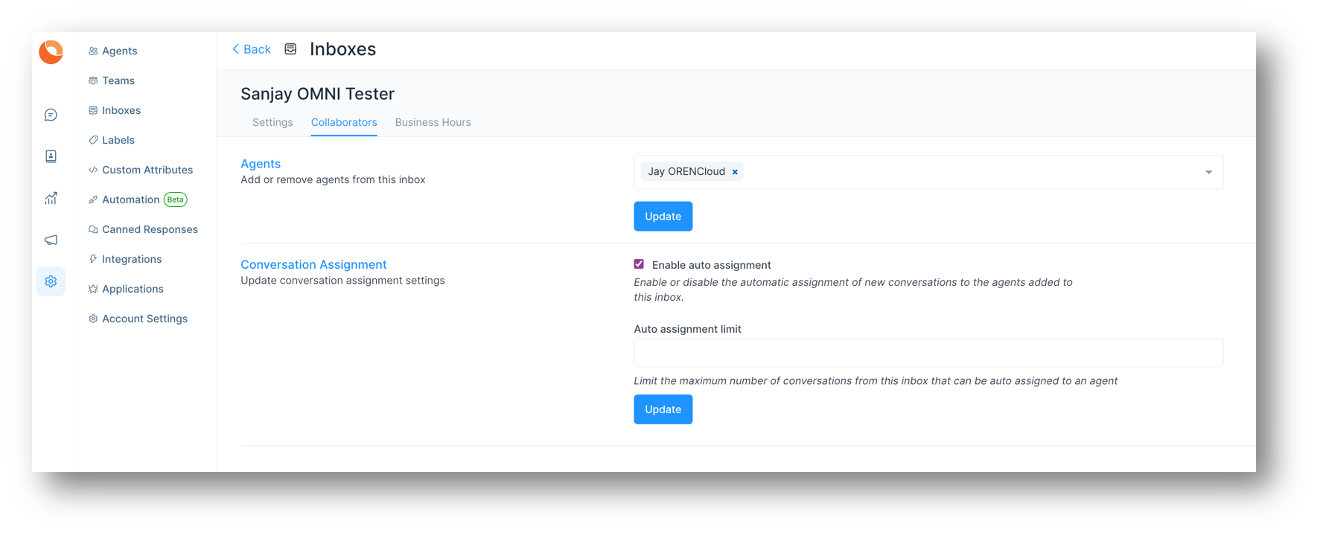
Step 5. "Add agents" to your Facebook inbox.

Step 6. Hooray! You have successfully created a Facebook Messenger inbox. Whenever a customer sends a message to your Facebook page, you will be able to see it here and manage it.
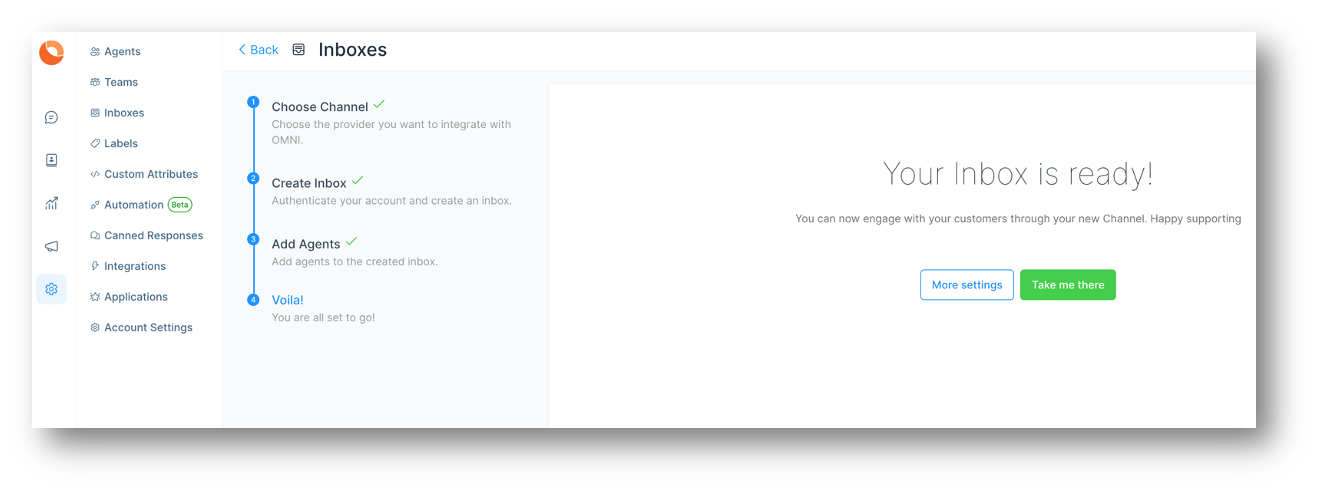
Step 7. If you want to update the agents who have access to the inbox, you can go to Settings > Inboxes.
Re-Authorise Facebook
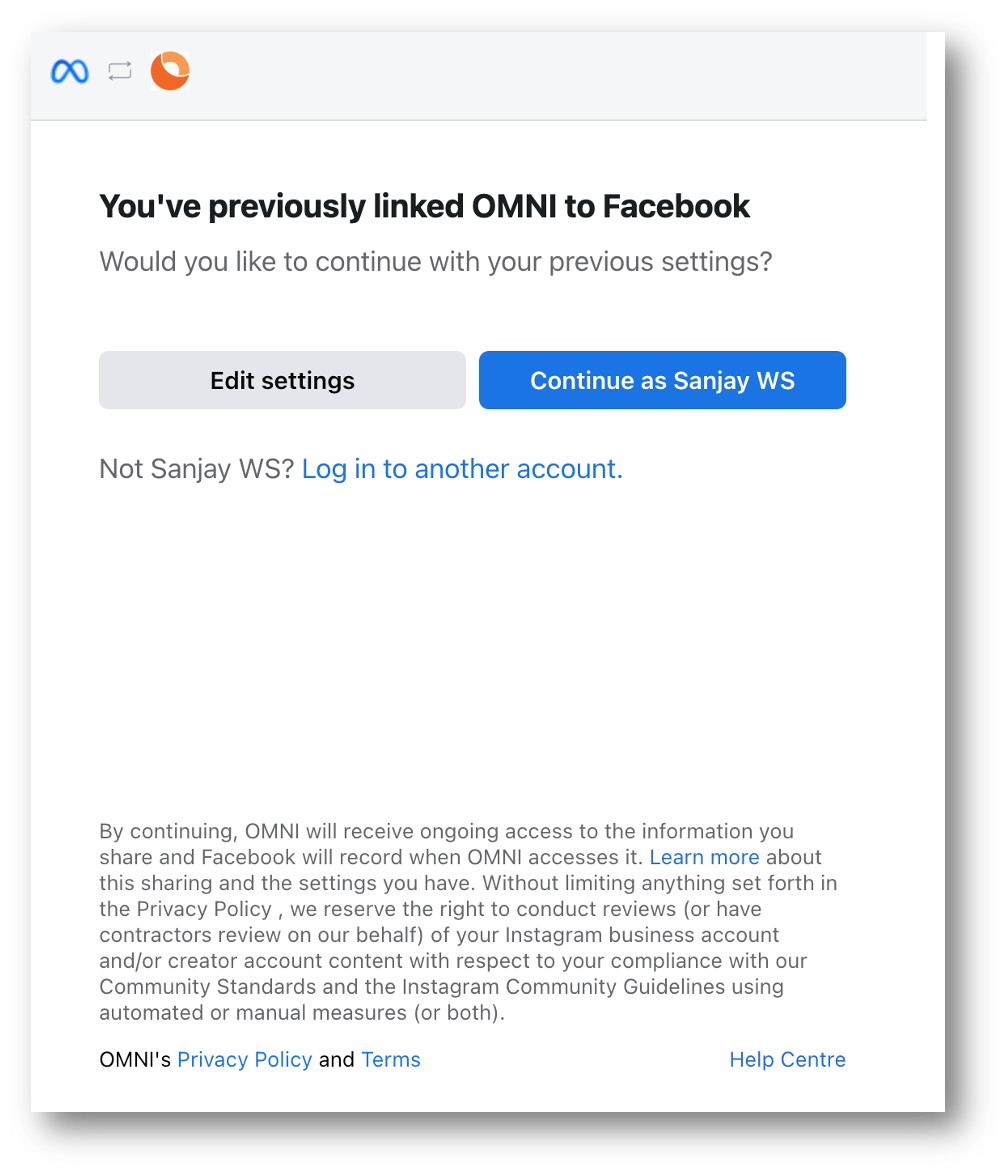
Reauthorisation is required by Facebook and you should be getting an email once it is required (to reauthorise). If you do receive that email, come to this screen to do it again. As usual, you need to meet the pre-requisite as above but you do not require to select pages again as it's just a "reconnect".
Step 1. Go to inbox settings page of your facebook channel inbox.
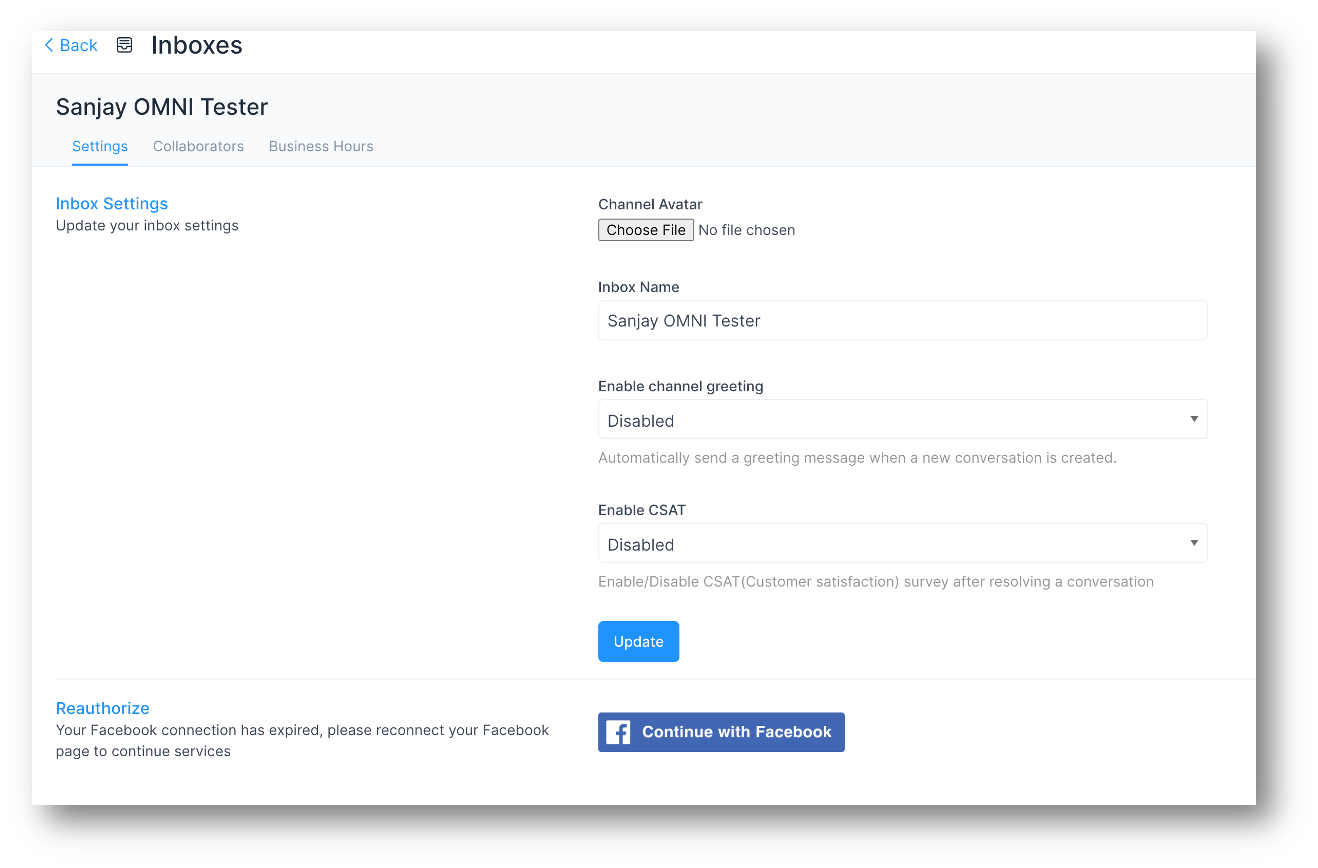
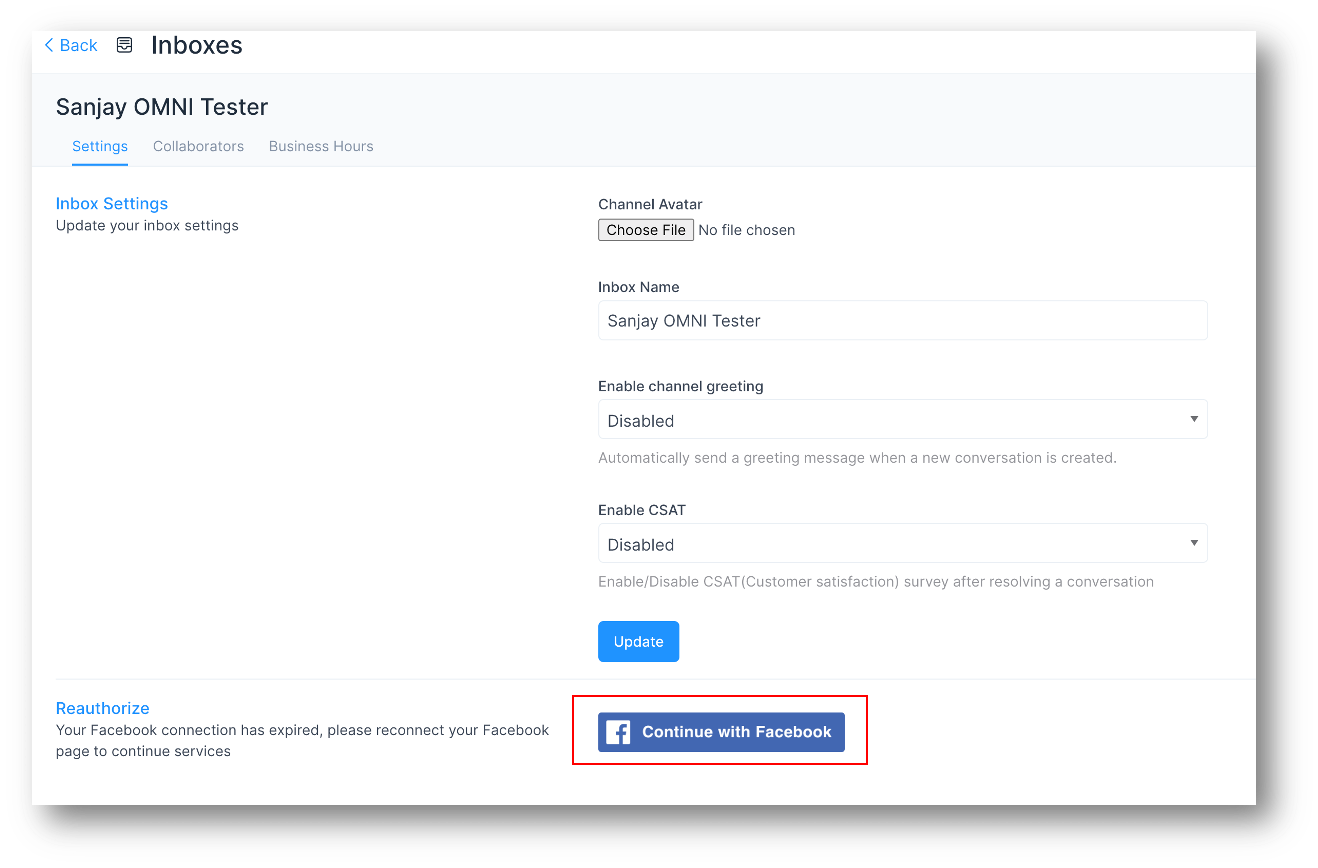
Step 2. You will see continue with facebook button, click on that.
Step 3. Then authorise app to your facebook page by clicking on continue button.
Common issue
I am not able to see messages received in Facebook messenger in the connected OMNI inbox:
Ans: Please make sure your Facebook page is connected only to the OMNI app, as according to Facebook's new app development, all the apps need to build a handover protocol. https://developers.facebook.com/docs/messenger-platform/handover-protocol
We are working on the workaround for the same which would be available in the upcoming releases.